Don’t worry, it’s easy-peasy. You don’t need to know Photoshop to use the mockup files available on the brand-new resources page. And if you know Photoshop, you probably don’t even need to read this post.
If you have trouble applying your design even after following these steps, I understand. Just send me a message and I will be happy to help. Maybe it’s a problem with the file, and I would appreciate it if you could let me know.
If you happened to land on this page: Hello, hello! This post is about the free resources available here. Each designer has its own way of organizing mockup files, these steps may not apply to files created by others.
Illustrated guide on how to use .psd mockup files
Yes, I know. This could have been a video. But I still prefer image-based tutorials to videos. Especially when they are brief as this one. Then you don’t have to keep hitting play and pause (which I think is very time consuming).
Also, you will find the simplified instructions in the Photoshop file, in a dedicated layer, that you can turn on and off as you like.
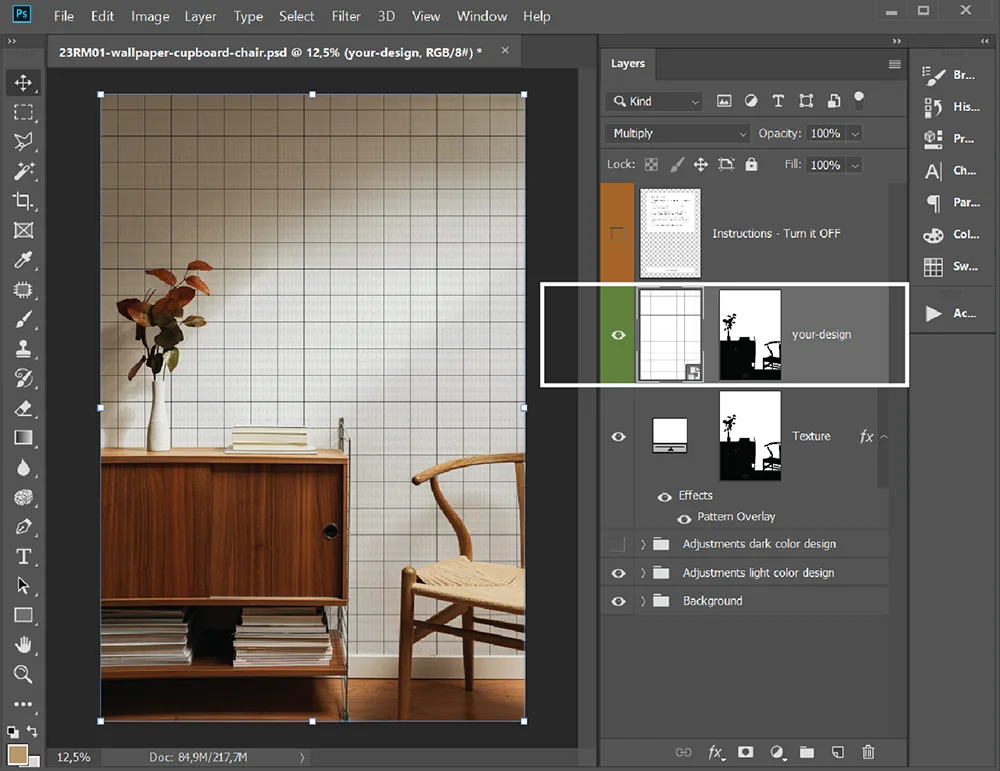
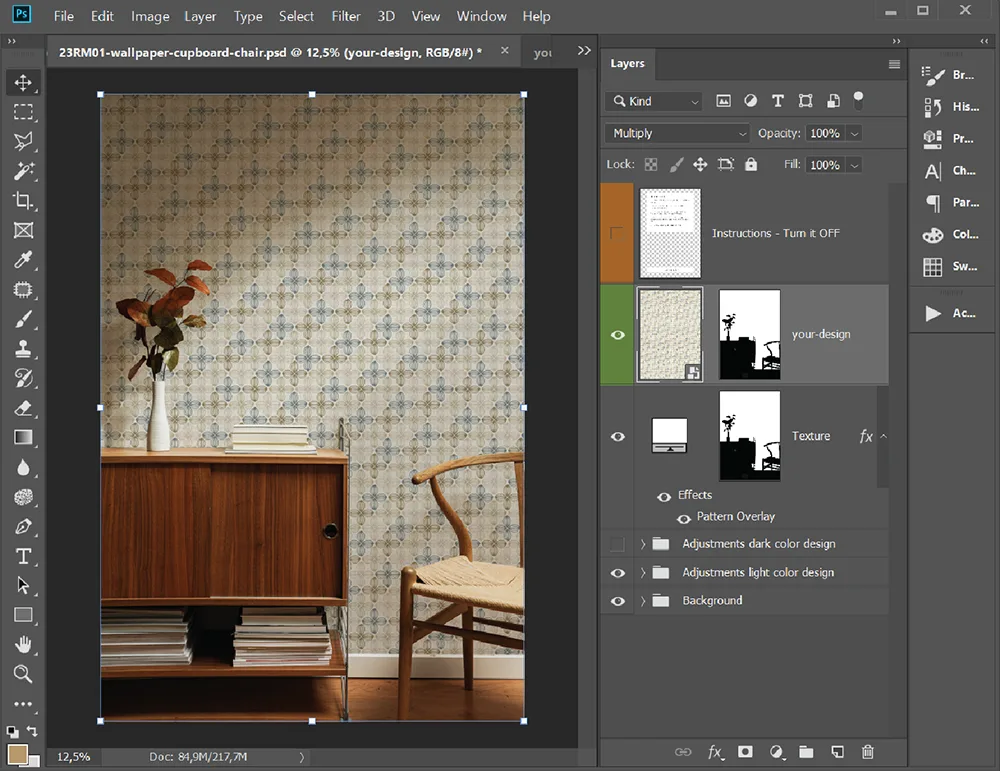
1. Locate the Smart Object “Your Design” in the Layers panel (the green layer).
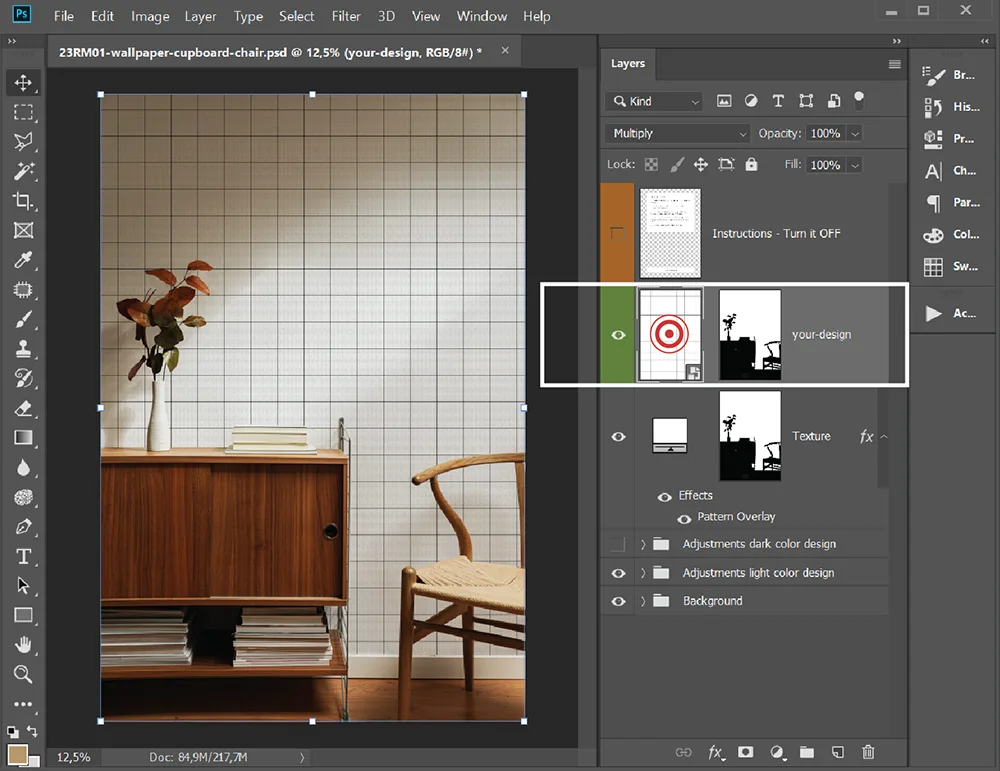
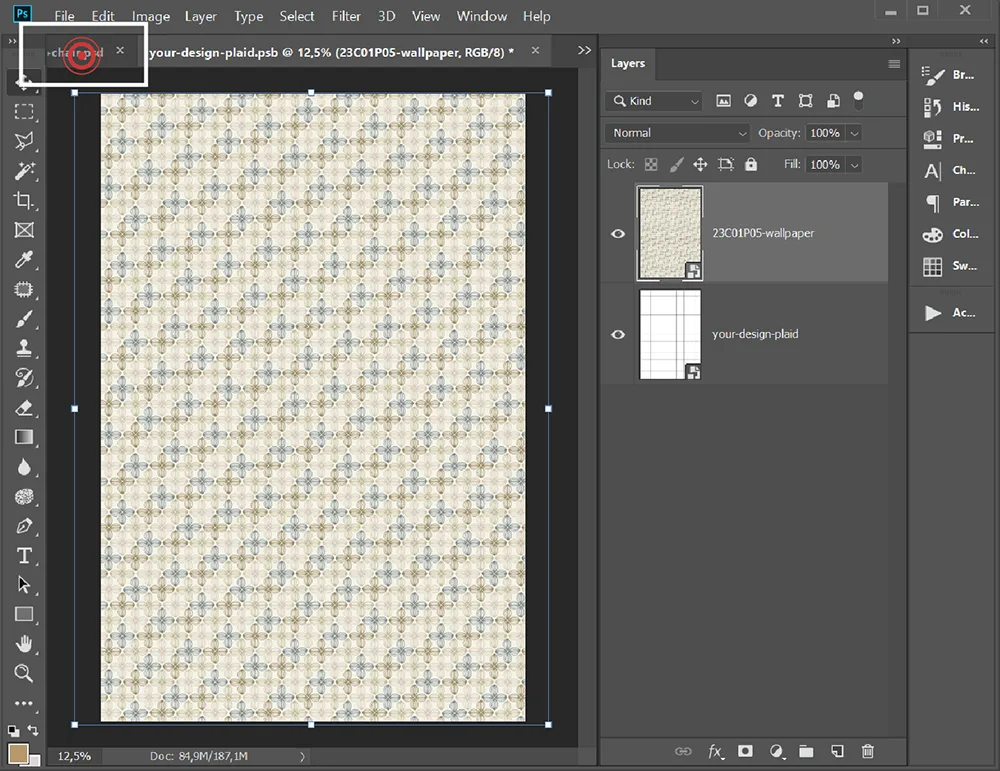
2. Double-click its thumbnail. Photoshop will open a new file.
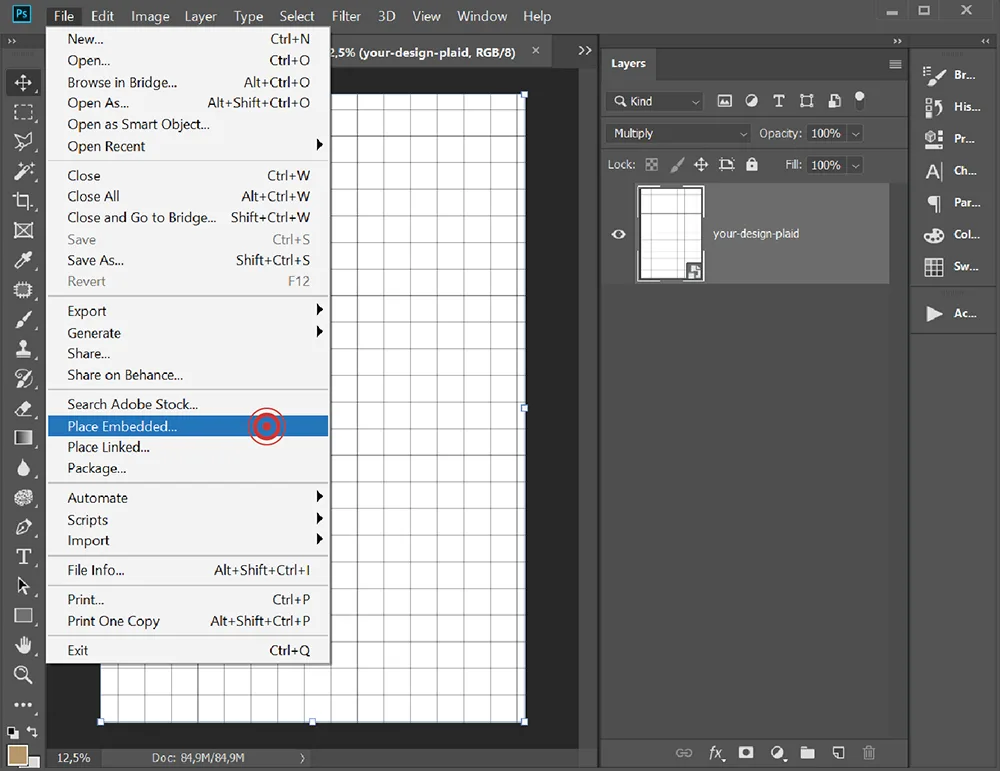
3. In this new file, go to the “File” tab and click “Place Embedded”.
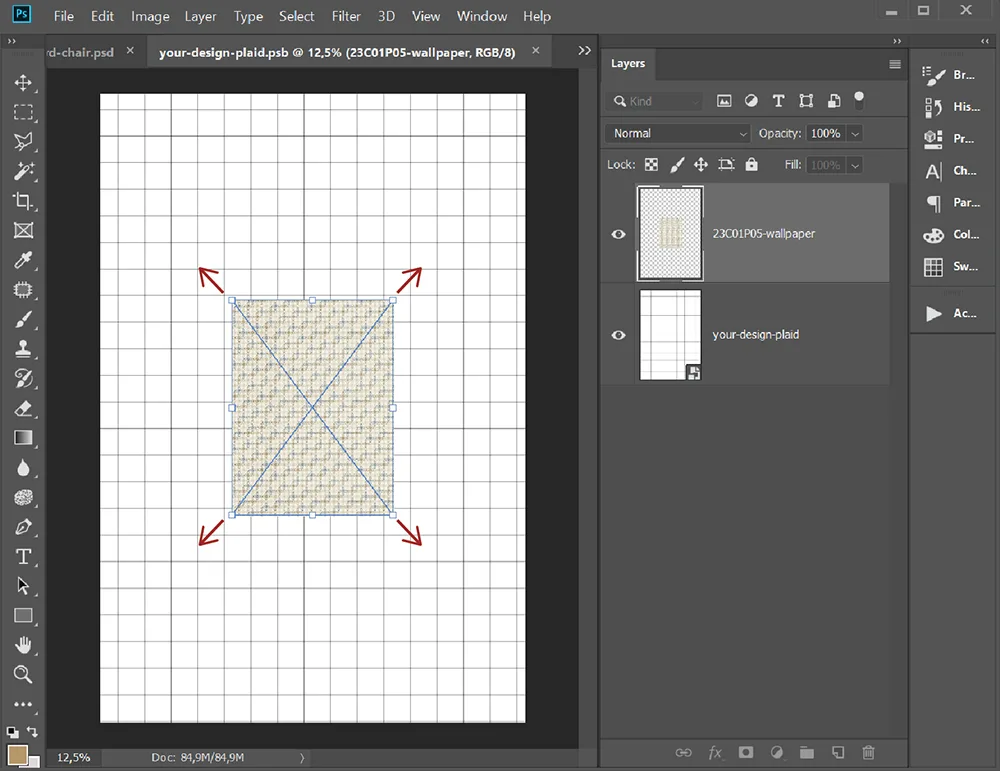
4. Select an image of your design. Place it. And adjust it to fit the artboard as needed.
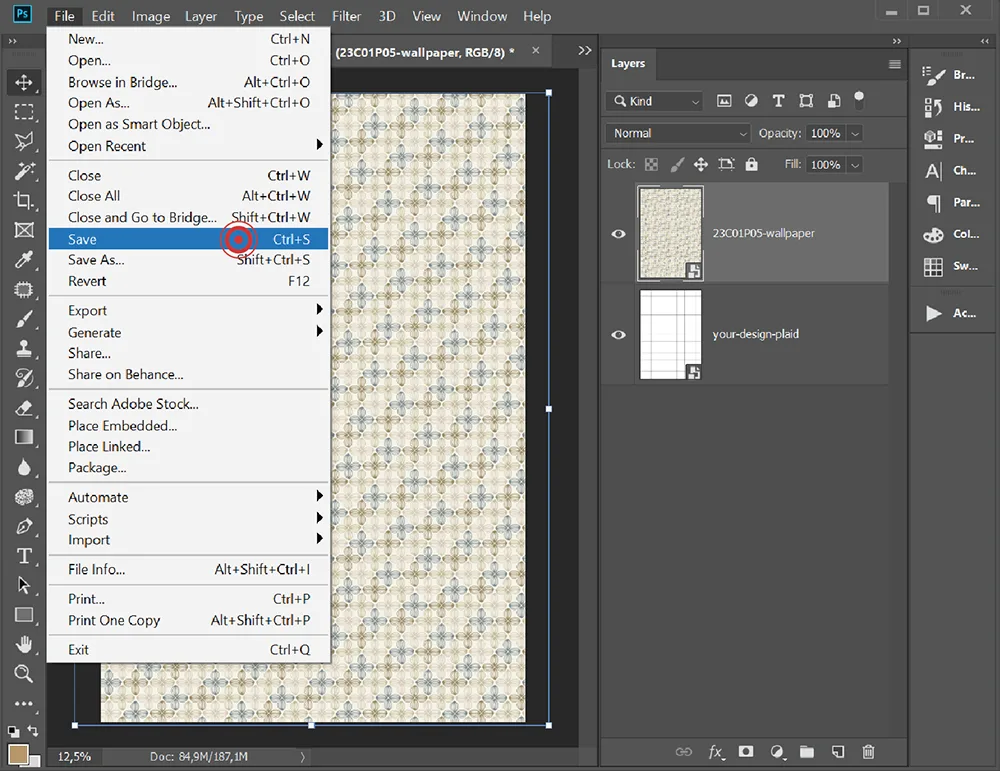
5. Save this new file.
6. Go back to the main file, your design should be automatically applied.
7. Export your image and show your work!
Extra and optional steps
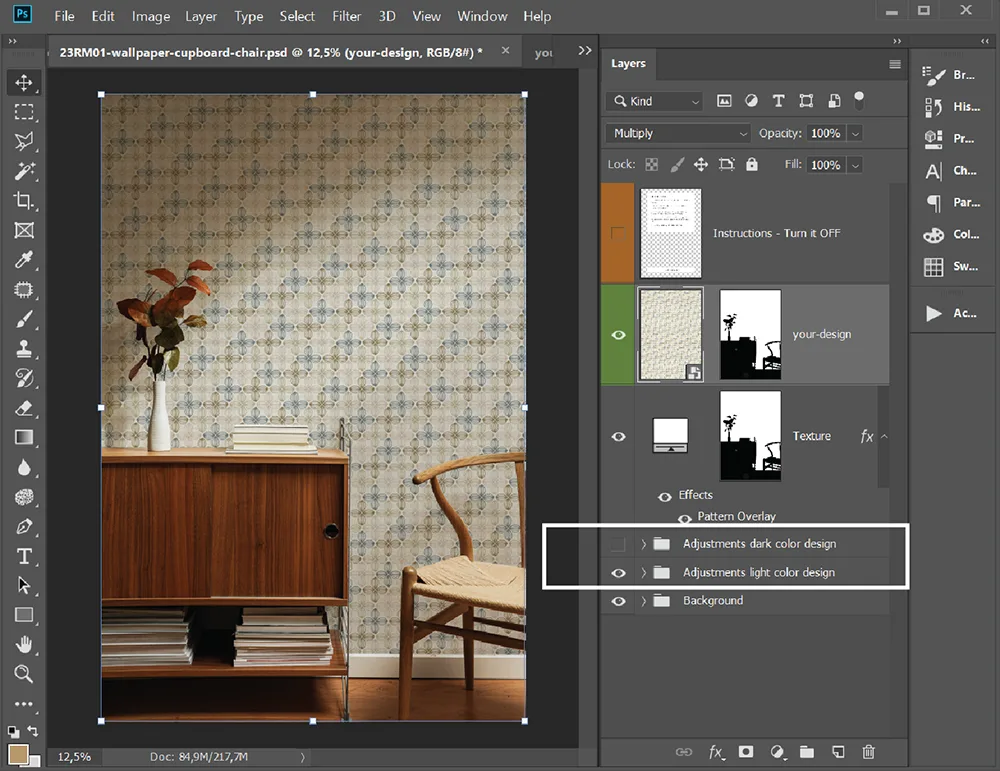
8. Brightness and shadow adjustment layers may be available in some files. I recommend exploring these layers to see what works best for your design. Darker designs usually require different adjustments.
9. Background options may be available for some mockups (It’s not the case with this one). Choose the background that best fits your design and vision and adjust as needed.
That’s it. Don’t forget to check the resources page for new content. Or sign up for my email list to get access to exclusive resources, and I promise to let you know when new freebies are available.
Please tag me on social media when you share your designs! I can’t wait to see them and share them with the world!
For more information about these resources, read the “Terms and Conditions“, “Share the Love,” and “Instructions” sections here. If you still have questions about the files and how to use them, send me a message. I will be happy to help you.
We use cookies to ensure that we give you the best experience on our website. By clicking “Accept”, you consent to the use of all the cookies. Read More
This website uses cookies to improve your experience while you navigate through the website. Out of these, the cookies that are categorized as necessary are stored on your browser as they are essential for the working of basic functionalities of the website. We also use third-party cookies that help us analyze and understand how you use this website. These cookies will be stored in your browser only with your consent. You also have the option to opt-out of these cookies. But opting out of some of these cookies may affect your browsing experience.
Necessary cookies are absolutely essential for the website to function properly. These cookies ensure basic functionalities and security features of the website, anonymously.
Cookie
Duration
Description
_GRECAPTCHA
6 months
Google Recaptcha service sets this cookie to identify bots to protect the website against malicious spam attacks.
cookielawinfo-checkbox-advertisement
1 year
Set by the GDPR Cookie Consent plugin, this cookie records the user consent for the cookies in the "Advertisement" category.
cookielawinfo-checkbox-analytics
11 months
This cookie is set by GDPR Cookie Consent plugin. The cookie is used to store the user consent for the cookies in the category "Analytics".
cookielawinfo-checkbox-functional
11 months
The cookie is set by GDPR cookie consent to record the user consent for the cookies in the category "Functional".
cookielawinfo-checkbox-necessary
11 months
This cookie is set by GDPR Cookie Consent plugin. The cookies is used to store the user consent for the cookies in the category "Necessary".
cookielawinfo-checkbox-others
11 months
This cookie is set by GDPR Cookie Consent plugin. The cookie is used to store the user consent for the cookies in the category "Other.
cookielawinfo-checkbox-performance
11 months
This cookie is set by GDPR Cookie Consent plugin. The cookie is used to store the user consent for the cookies in the category "Performance".
CookieLawInfoConsent
1 year
CookieYes sets this cookie to record the default button state of the corresponding category and the status of CCPA. It works only in coordination with the primary cookie.
viewed_cookie_policy
11 months
The cookie is set by the GDPR Cookie Consent plugin and is used to store whether or not user has consented to the use of cookies. It does not store any personal data.
wpEmojiSettingsSupports
session
WordPress sets this cookie when a user interacts with emojis on a WordPress site. It helps determine if the user's browser can display emojis properly.
Functional cookies help to perform certain functionalities like sharing the content of the website on social media platforms, collect feedbacks, and other third-party features.
Cookie
Duration
Description
sp_landing
1 day
The sp_landing is set by Spotify to implement audio content from Spotify on the website and also registers information on user interaction related to the audio content.
sp_t
1 year
The sp_t cookie is set by Spotify to implement audio content from Spotify on the website and also registers information on user interaction related to the audio content.
Performance cookies are used to understand and analyze the key performance indexes of the website which helps in delivering a better user experience for the visitors.
Cookie
Duration
Description
__utma
1 year 1 month 4 days
Google Analytics sets this cookie to distinguish users and sessions. The cookie is created when the JavaScript library executes and there are no existing __utma cookies. The cookie is updated every time data is sent to Google Analytics.
__utmb
1 hour
Google Analytics sets this cookie to determine new sessions/visits. __utmb cookie is created when the JavaScript library executes and there are no existing __utma cookies. It is updated every time data is sent to Google Analytics.
__utmc
session
Google Analytics sets this cookie to enable interoperability with urchin.js, an older version of Google Analytics and is used in conjunction with the __utmb cookie to determine new sessions/visits. It is deleted when the user closes the browser.
__utmt
10 minutes
Google Analytics sets this cookie to inhibit the request rate.
__utmz
6 months
Google Analytics sets this cookie to store the traffic source or campaign by which the visitor reached the site.
Analytical cookies are used to understand how visitors interact with the website. These cookies help provide information on metrics the number of visitors, bounce rate, traffic source, etc.
Cookie
Duration
Description
_ga
1 year 1 month 4 days
Google Analytics sets this cookie to calculate visitor, session and campaign data and track site usage for the site's analytics report. The cookie stores information anonymously and assigns a randomly generated number to recognise unique visitors.
_ga_*
1 year 1 month 4 days
Google Analytics sets this cookie to store and count page views.
Advertisement cookies are used to provide visitors with relevant ads and marketing campaigns. These cookies track visitors across websites and collect information to provide customized ads.


No Comments